Deploying Vue.js to Azure Static Website

We've been putting together the content for the workshop Jason and I will run at NDC London in January and part of the story is the deployment and why not using something brand new which is the Azure Static Websites? So let's give it a go.
Creating brand new Vue.js app
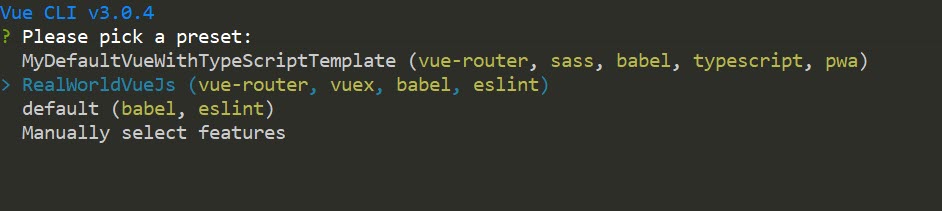
I'm going to use the Vue Cli in my example. So it's as simple as going to the command line and typing vue create myvueapp. From here you can choose what sort of features you want, in my case I've got a preset with vue-router, vuex, babel and eslint, but the feature I want to highlight in this post is the router, so make sure you enable this one.
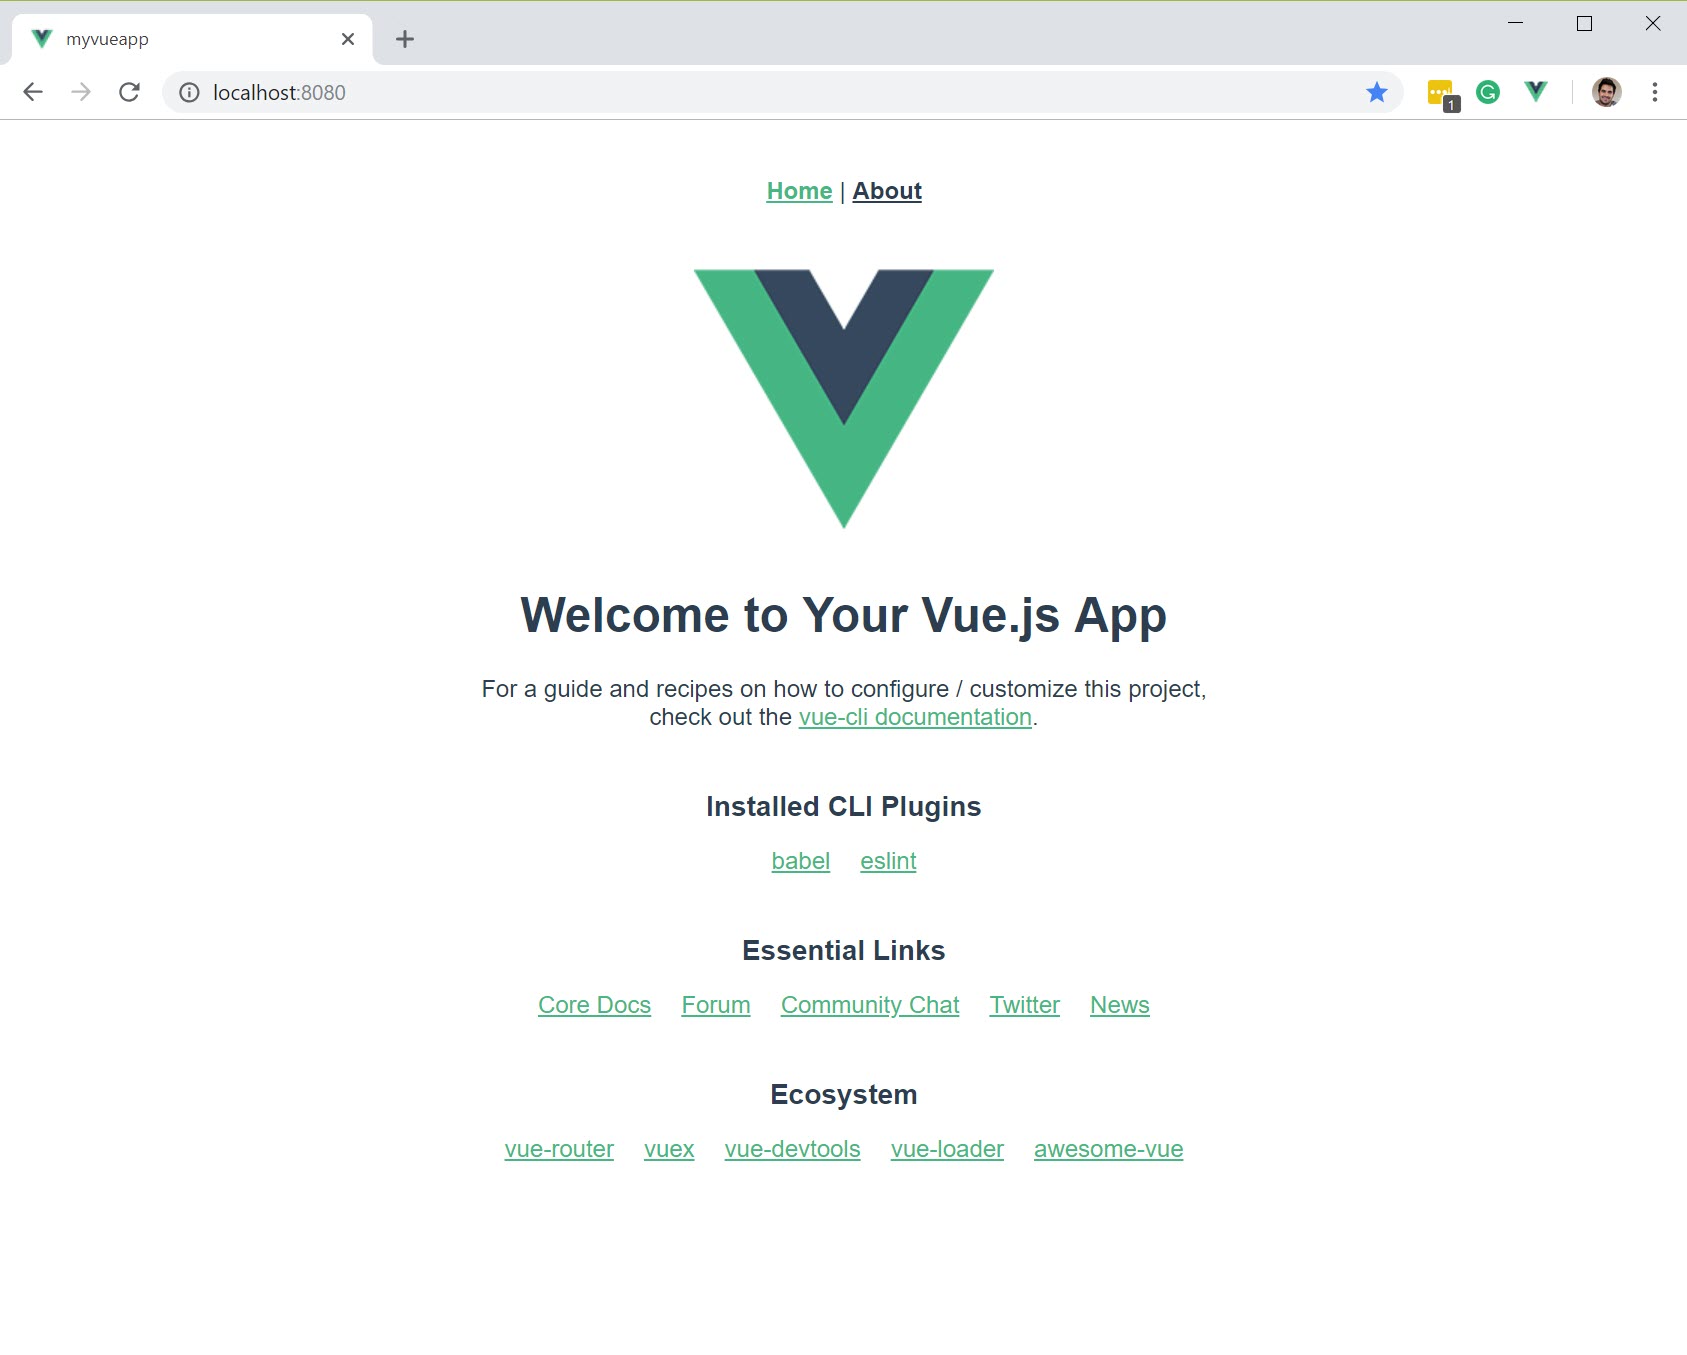
Once the app is created, I can start it with this command npm run serve and I've got my app running locally. Too easy!!!
Creating static website in Azure
Okay, let's leave the app as is for now and let's jump into the Azure portal and create our first static website.
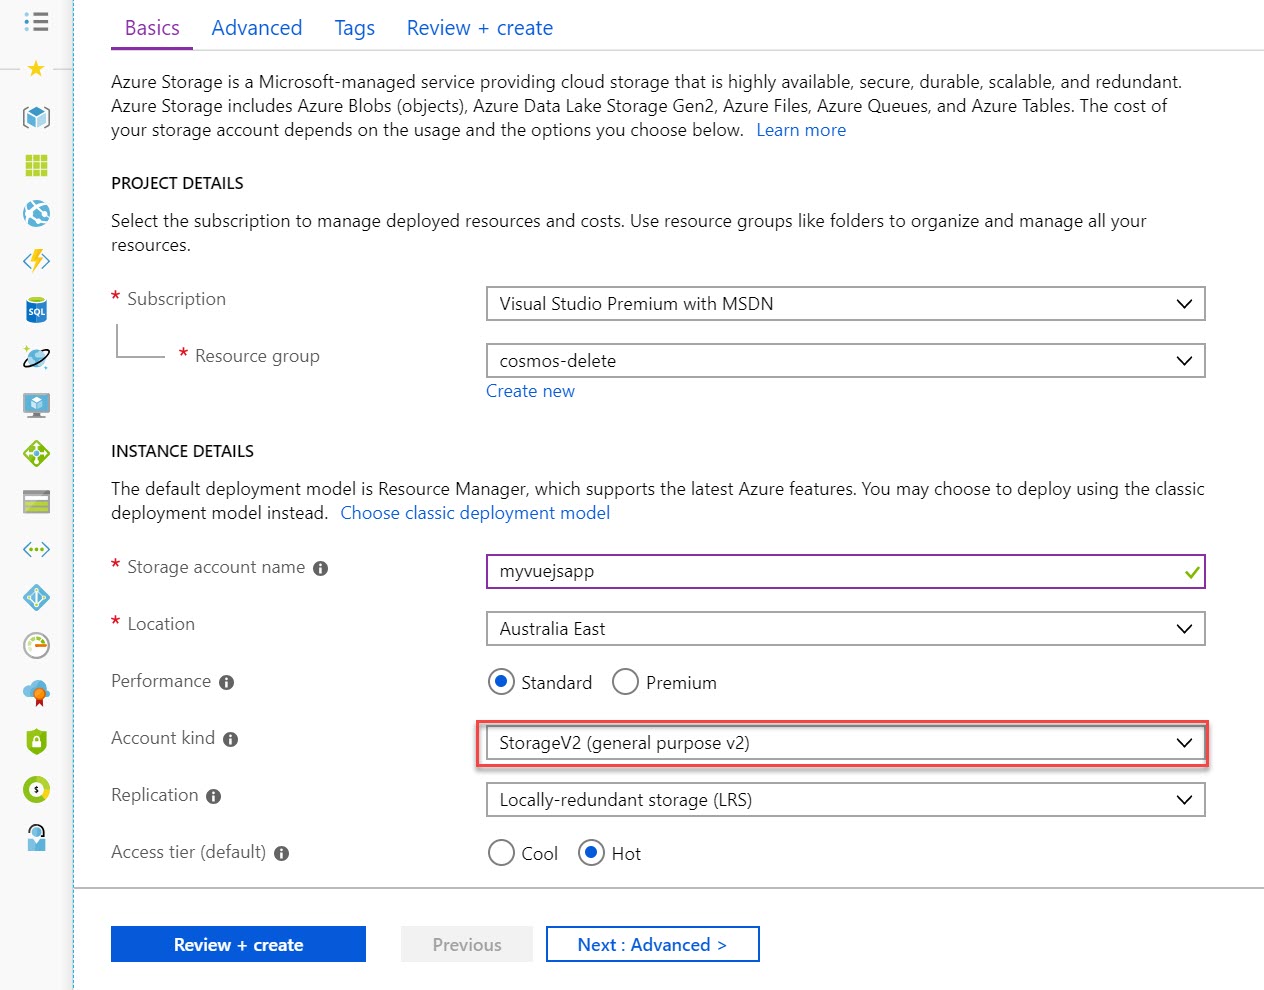
- First we're going to create a storage account. "Hold on!!! I thought we were creating a website". Calm down! We'll get there.
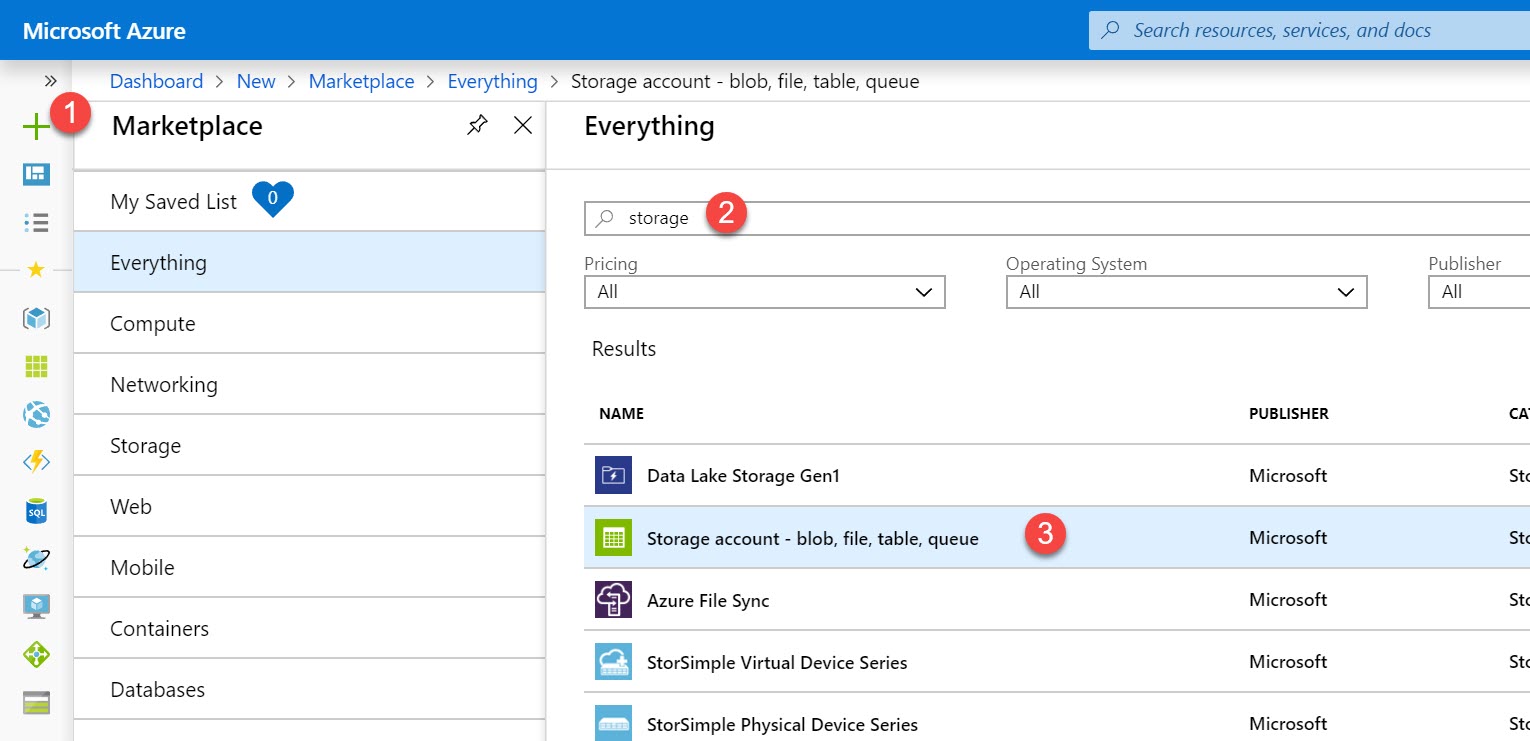
- Make sure you select the StorageV2. The Static Website feature is still in preview and it's only available on this storage account type.
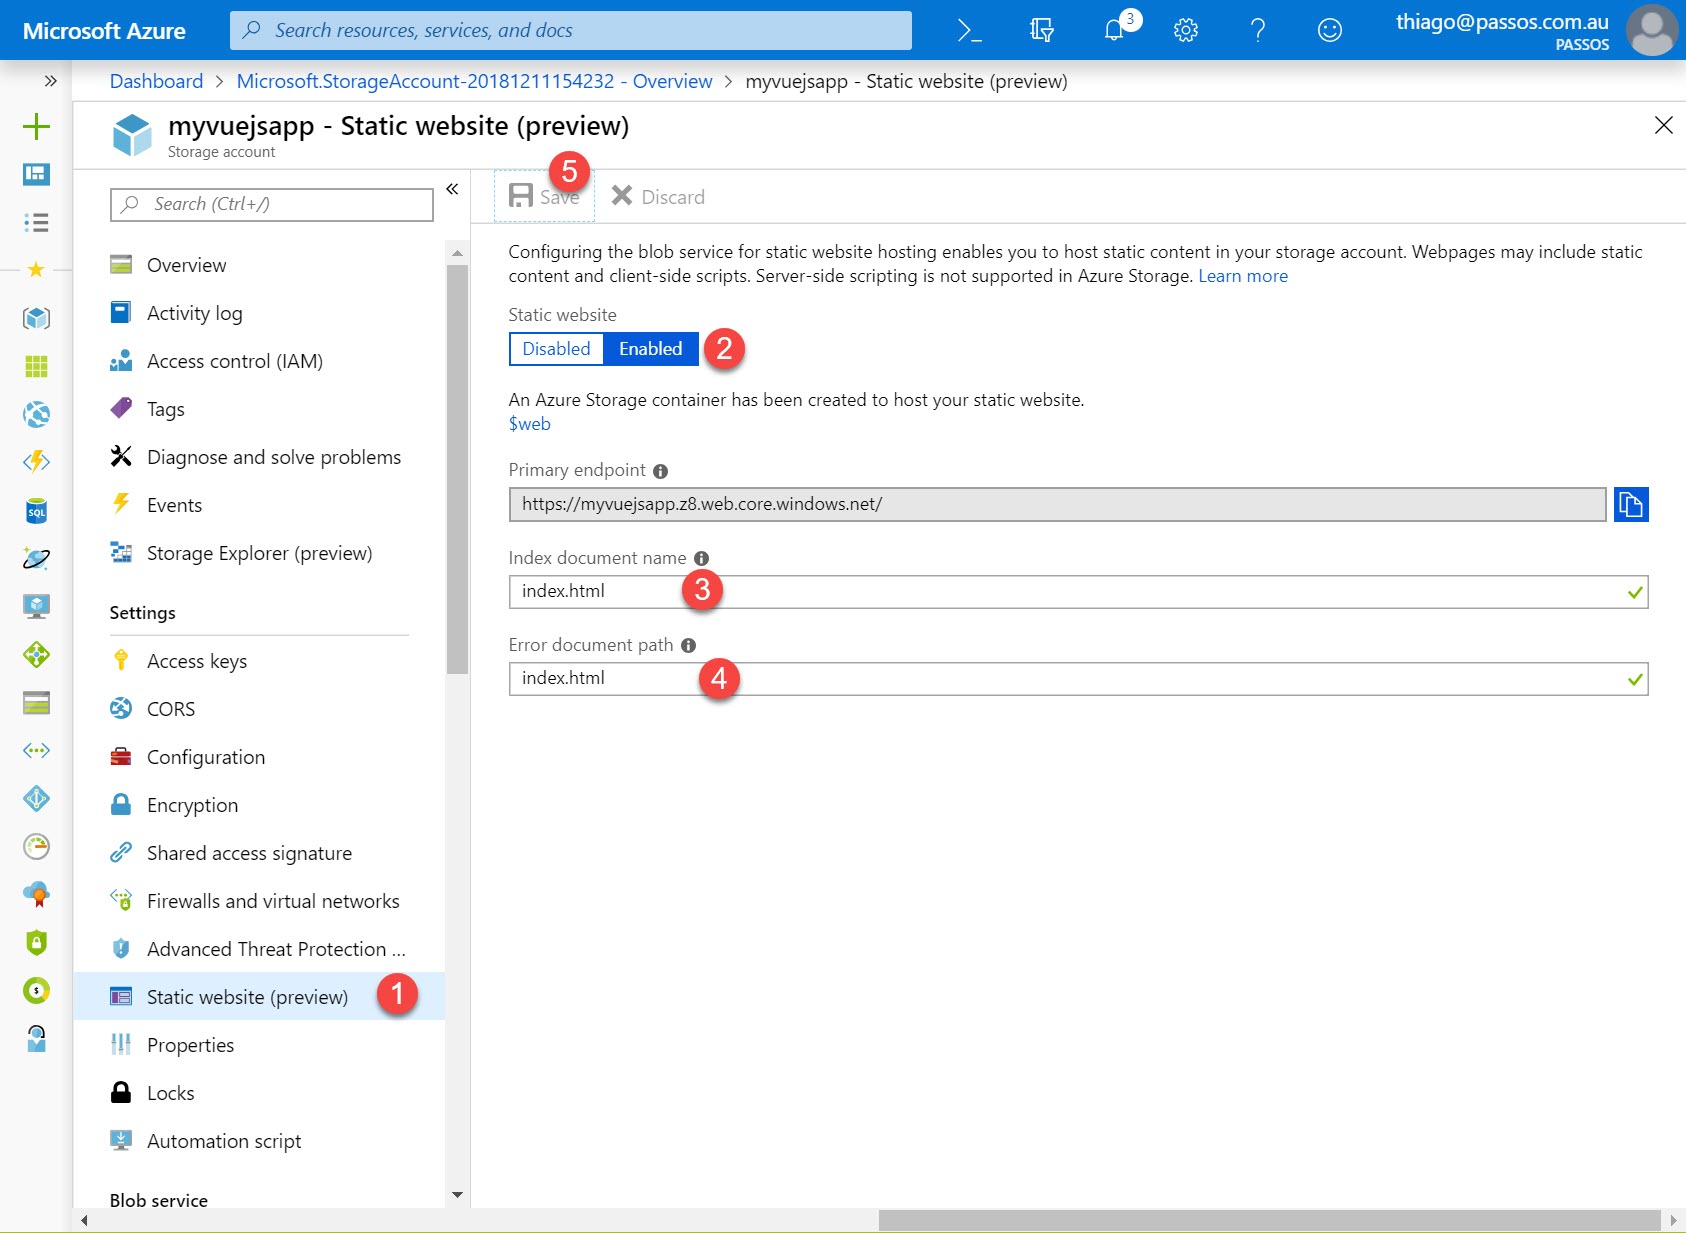
- Now it's time to enable the static website feature. The cool thing about this feature is that it also has an error document path which we will also point to
index.htmland let Vue handle any routing issue. Take note of the primary endpoint here as it's going to be your initial url.
Building and deploying our Vue.js app manually
Again we're going to use the Vue Cli and also the Storage Explorer
- Let's first build it with the command
npm run build, after running it, you'll see adistfolder inside your app folder
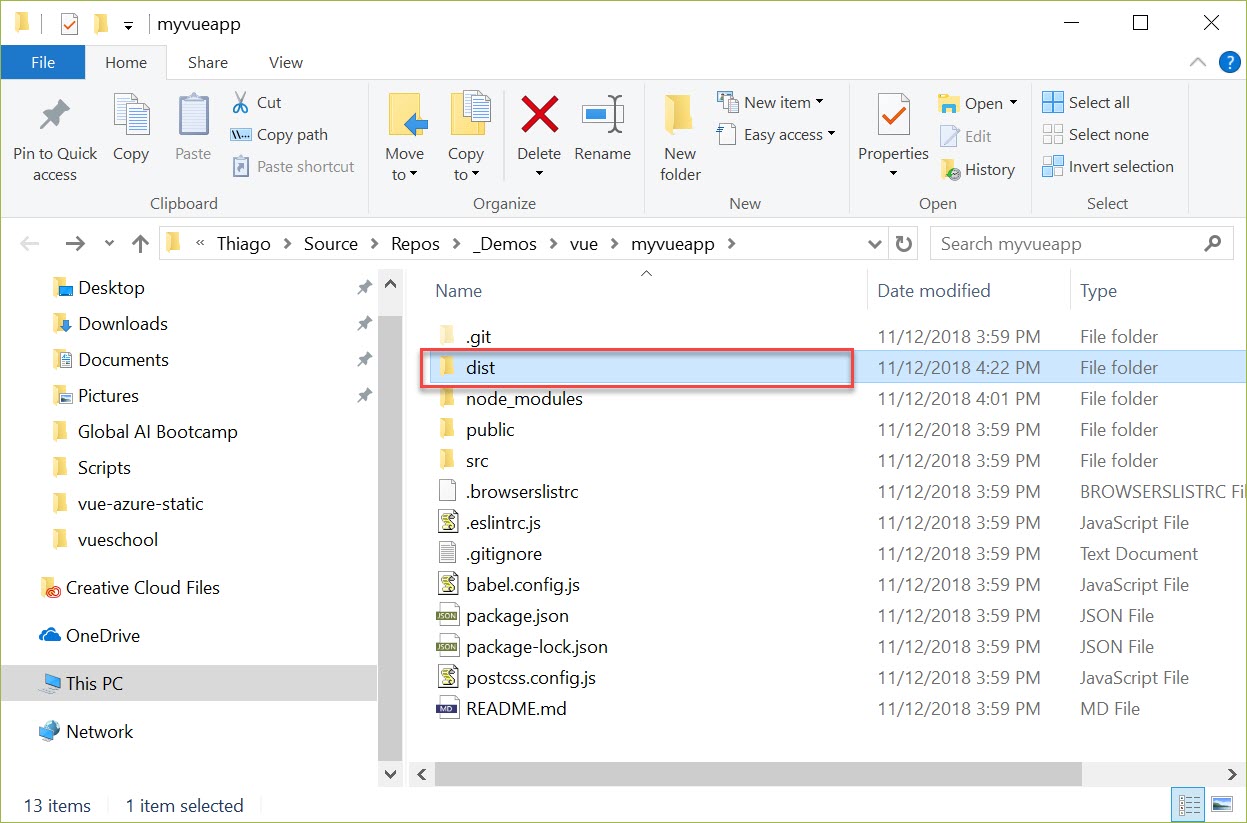
- We're going to copy the content of the dist folder to the
$webfolder in your storage account using the Storage Explorer. You can basically drag-and-drop if you want.
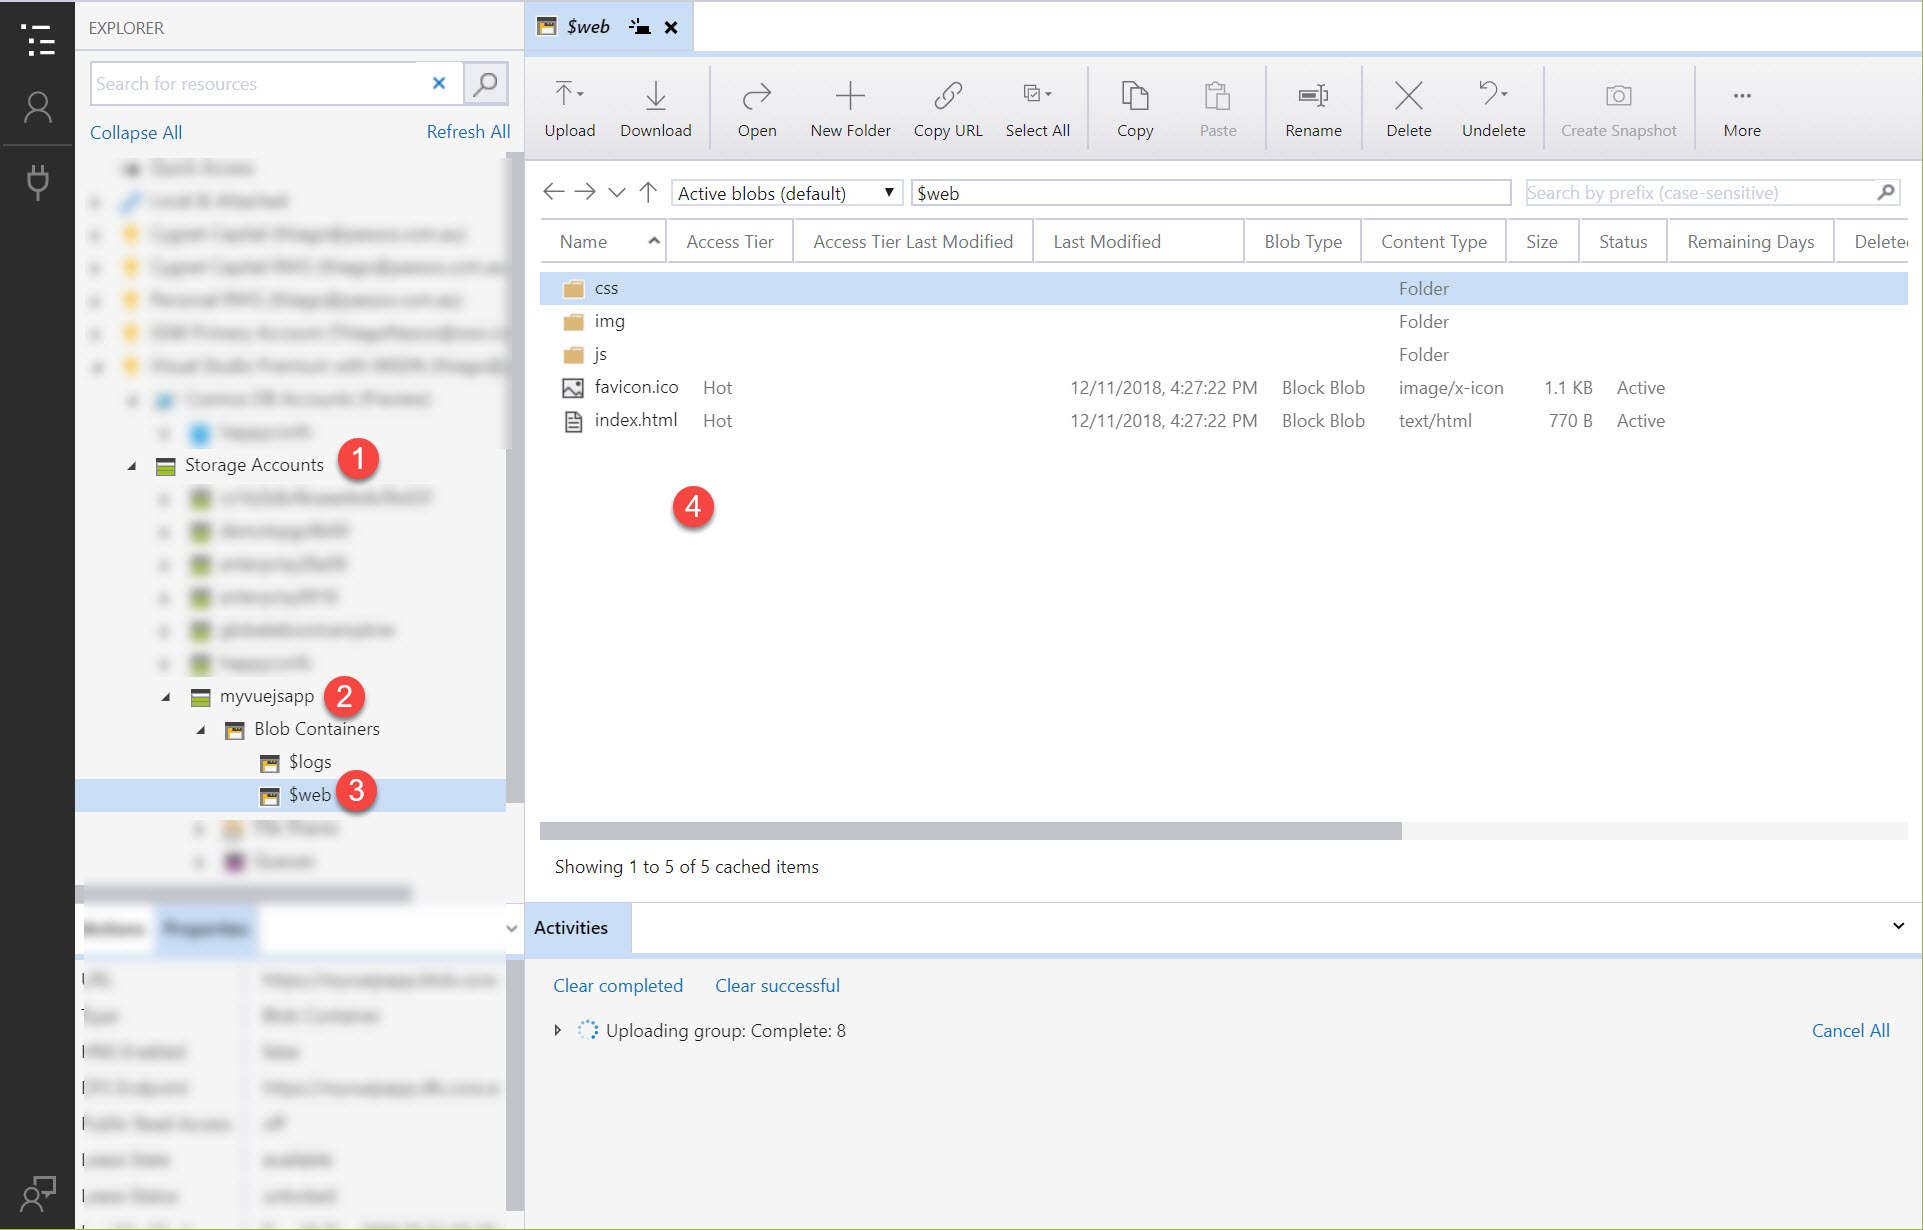
- Let's test it out and go to the URL we've copied previously. Hooray!! You can test the routing and see that everything is working perfectly.

Building and deploying automatically with Azure DevOps
To do a quick and dirty test, building and deploying your application manually is fine, but it's really not maintainable for a real app. So let's configure a quick CI/CD for it.
I'll assume your source code is either in a git repository on Azure DevOps or somewhere accessible. In my case, I'm going to use a git repository within Azure DevOps.
-
Creating a new pipeline
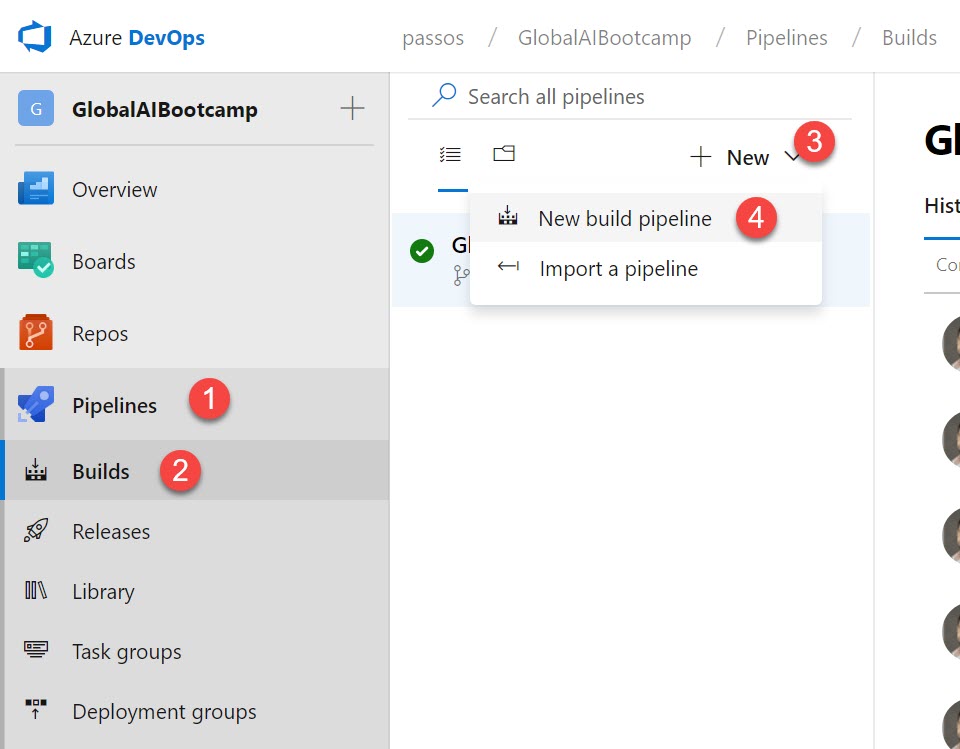
-
Selecting the repository
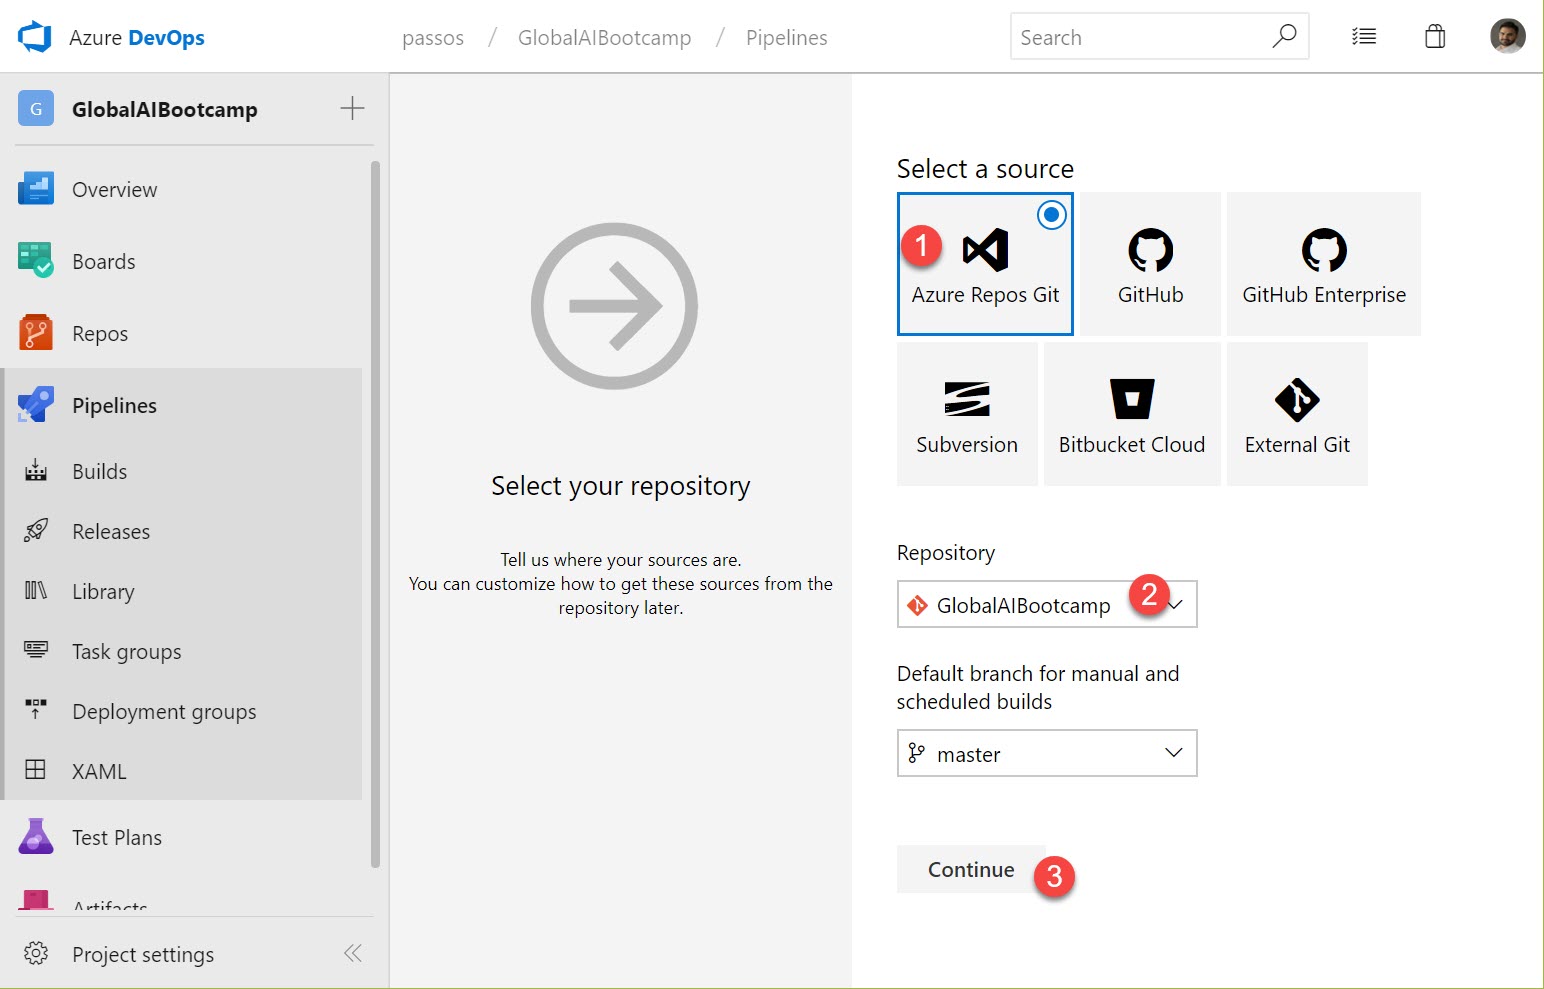
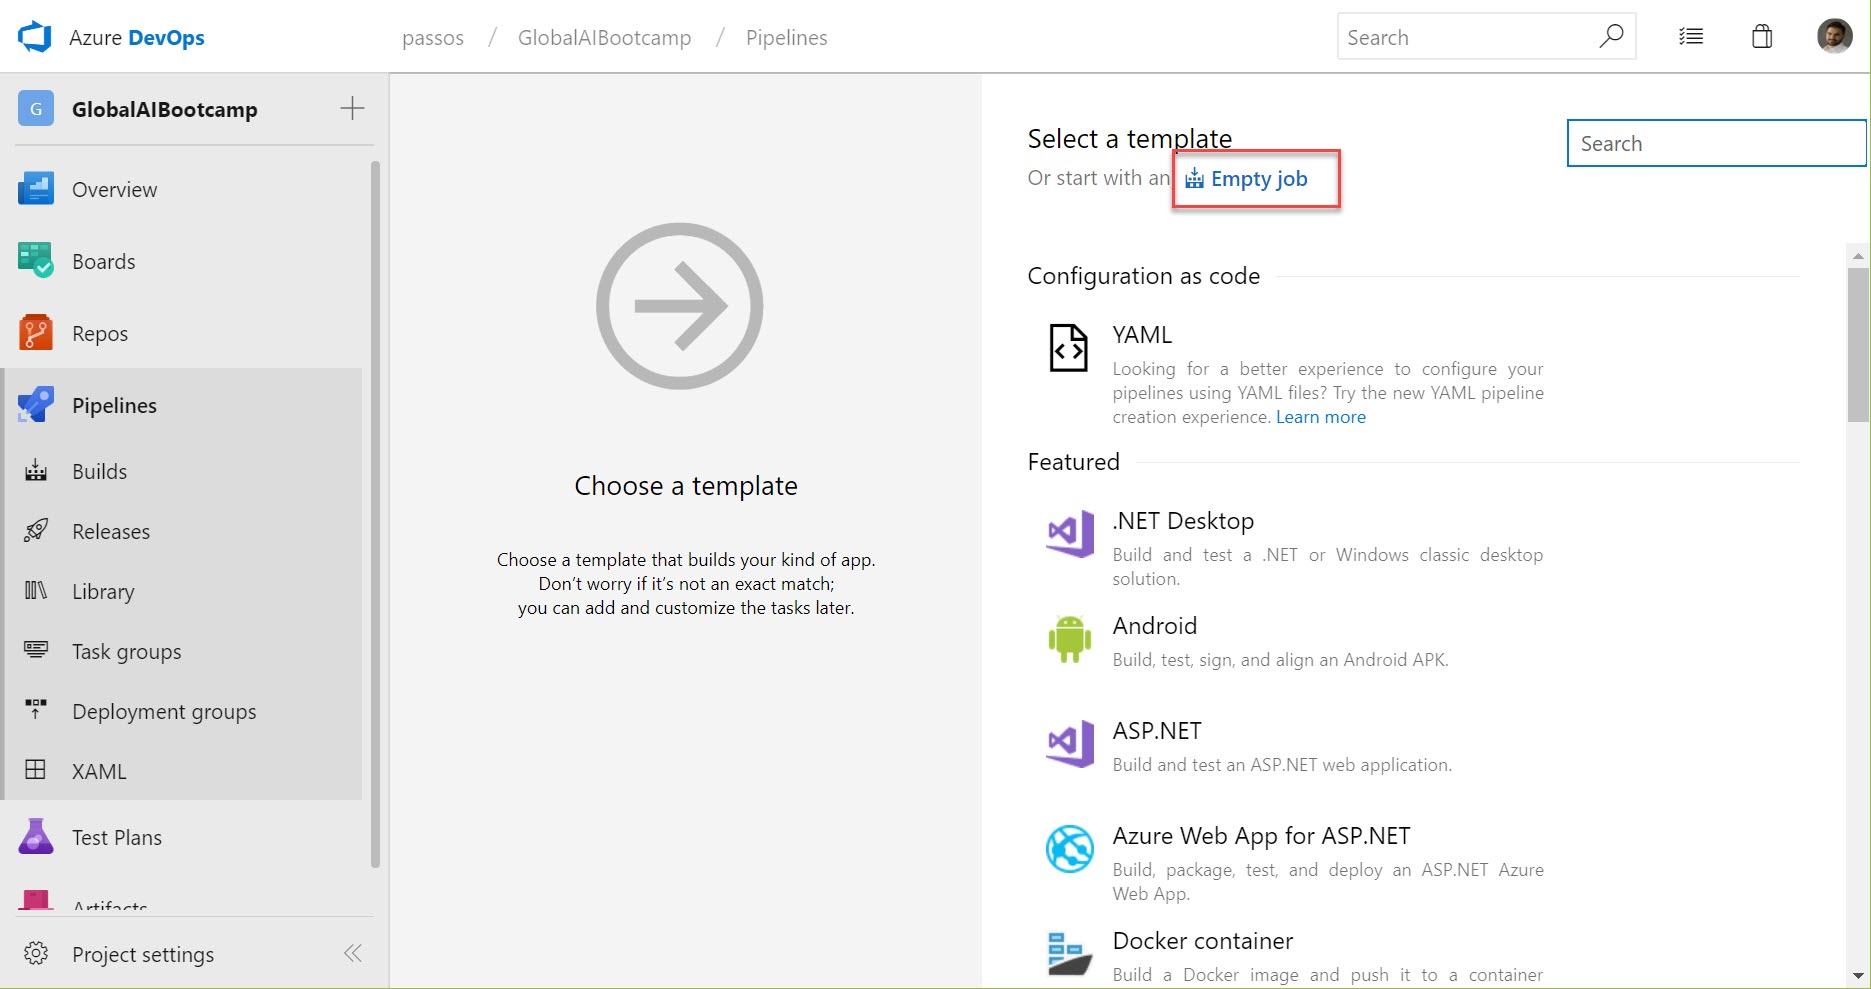
-
We'll start with an empty job in this case
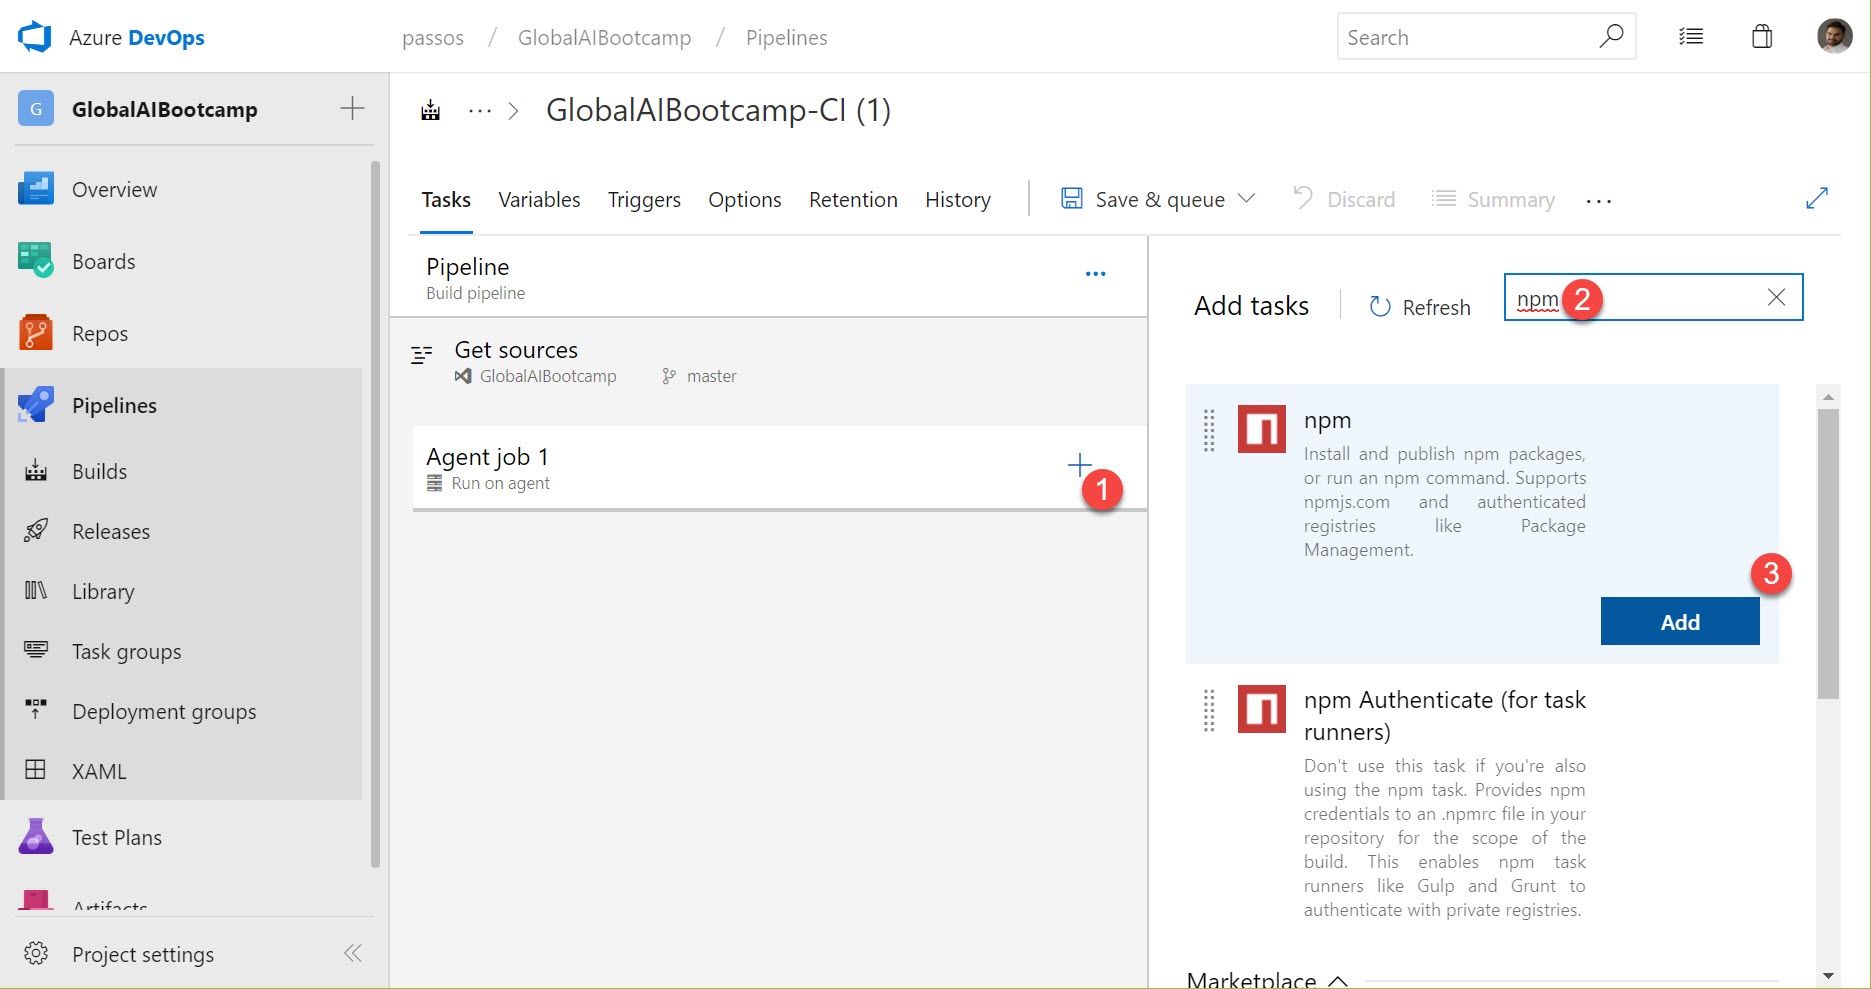
-
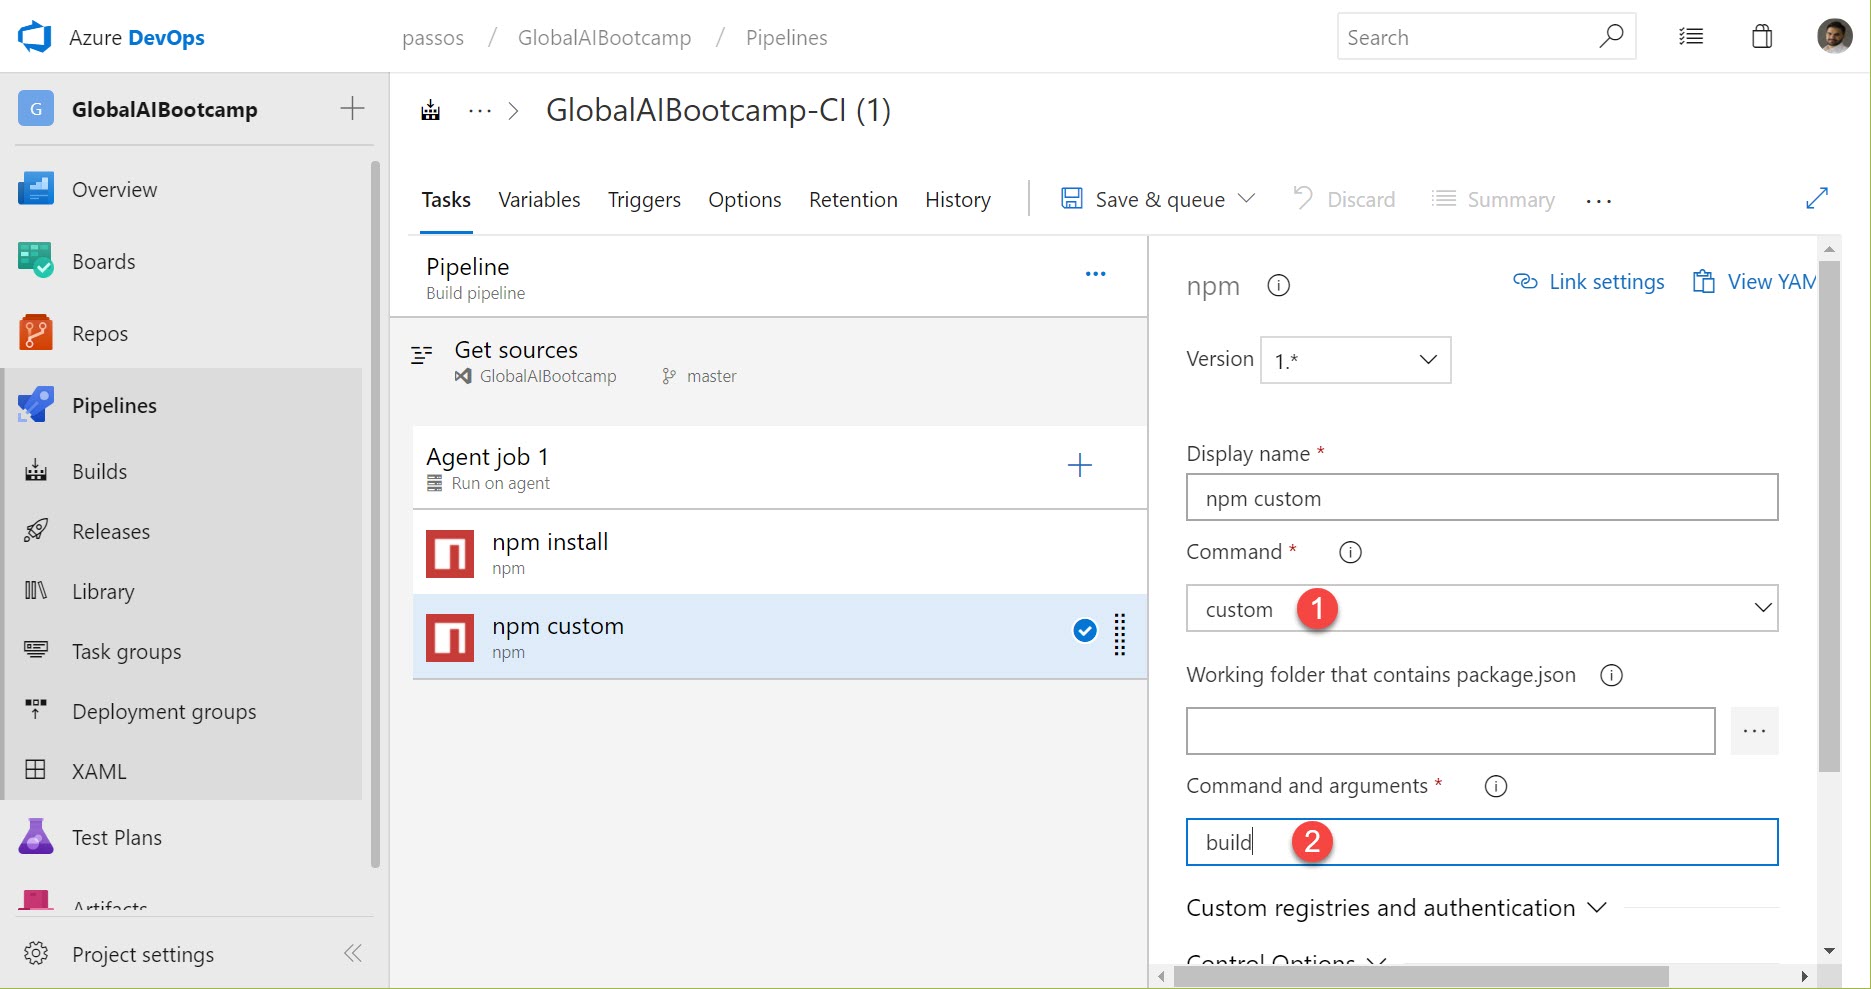
We're going to create 2 npm steps, the first one is a normal
npm install
-
The second one is going to use the custom with
buildparameter
-
We should use separate CI and CD pipelines, but just for sake of simplicity, I'm just going to add the step to do the deployment here in the CI pipeline. We're going to search for the
Azure File Copystep
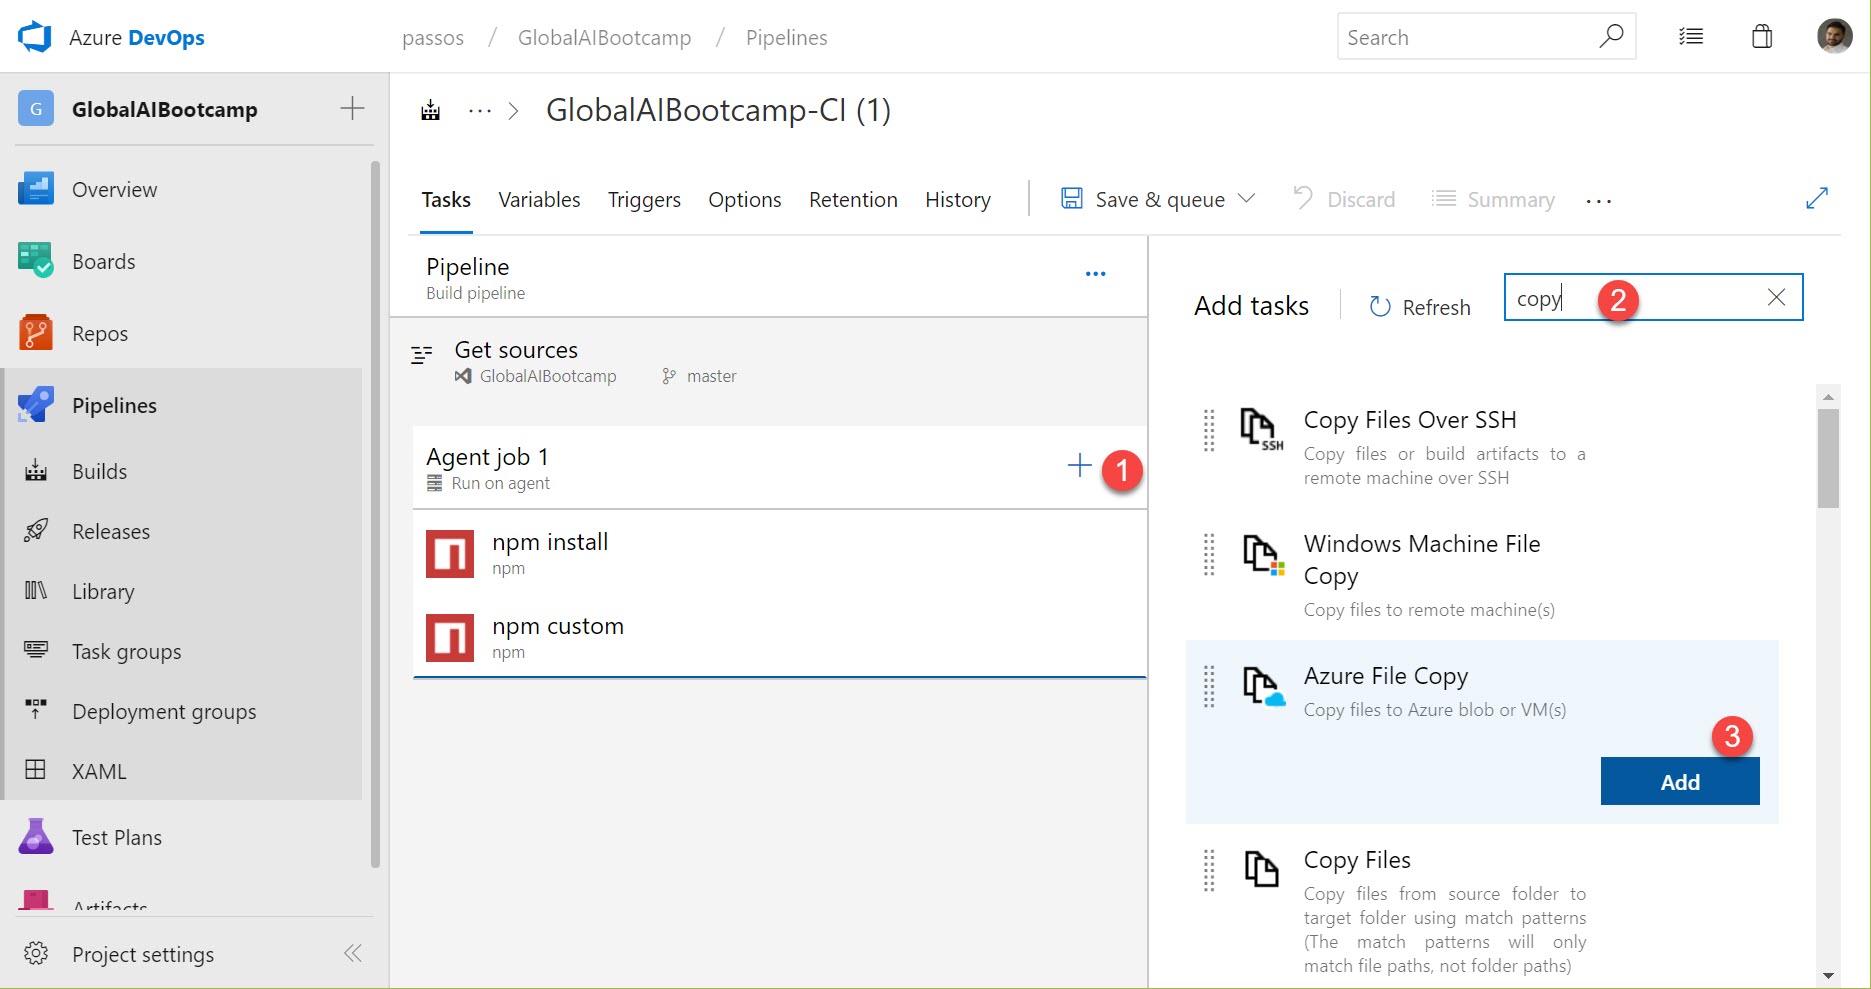
-
A very important thing to mention here is to use the version
2.* (preview), otherwise it's going to fail when trying to copy to the$webfolder.

-
Time to save & queue
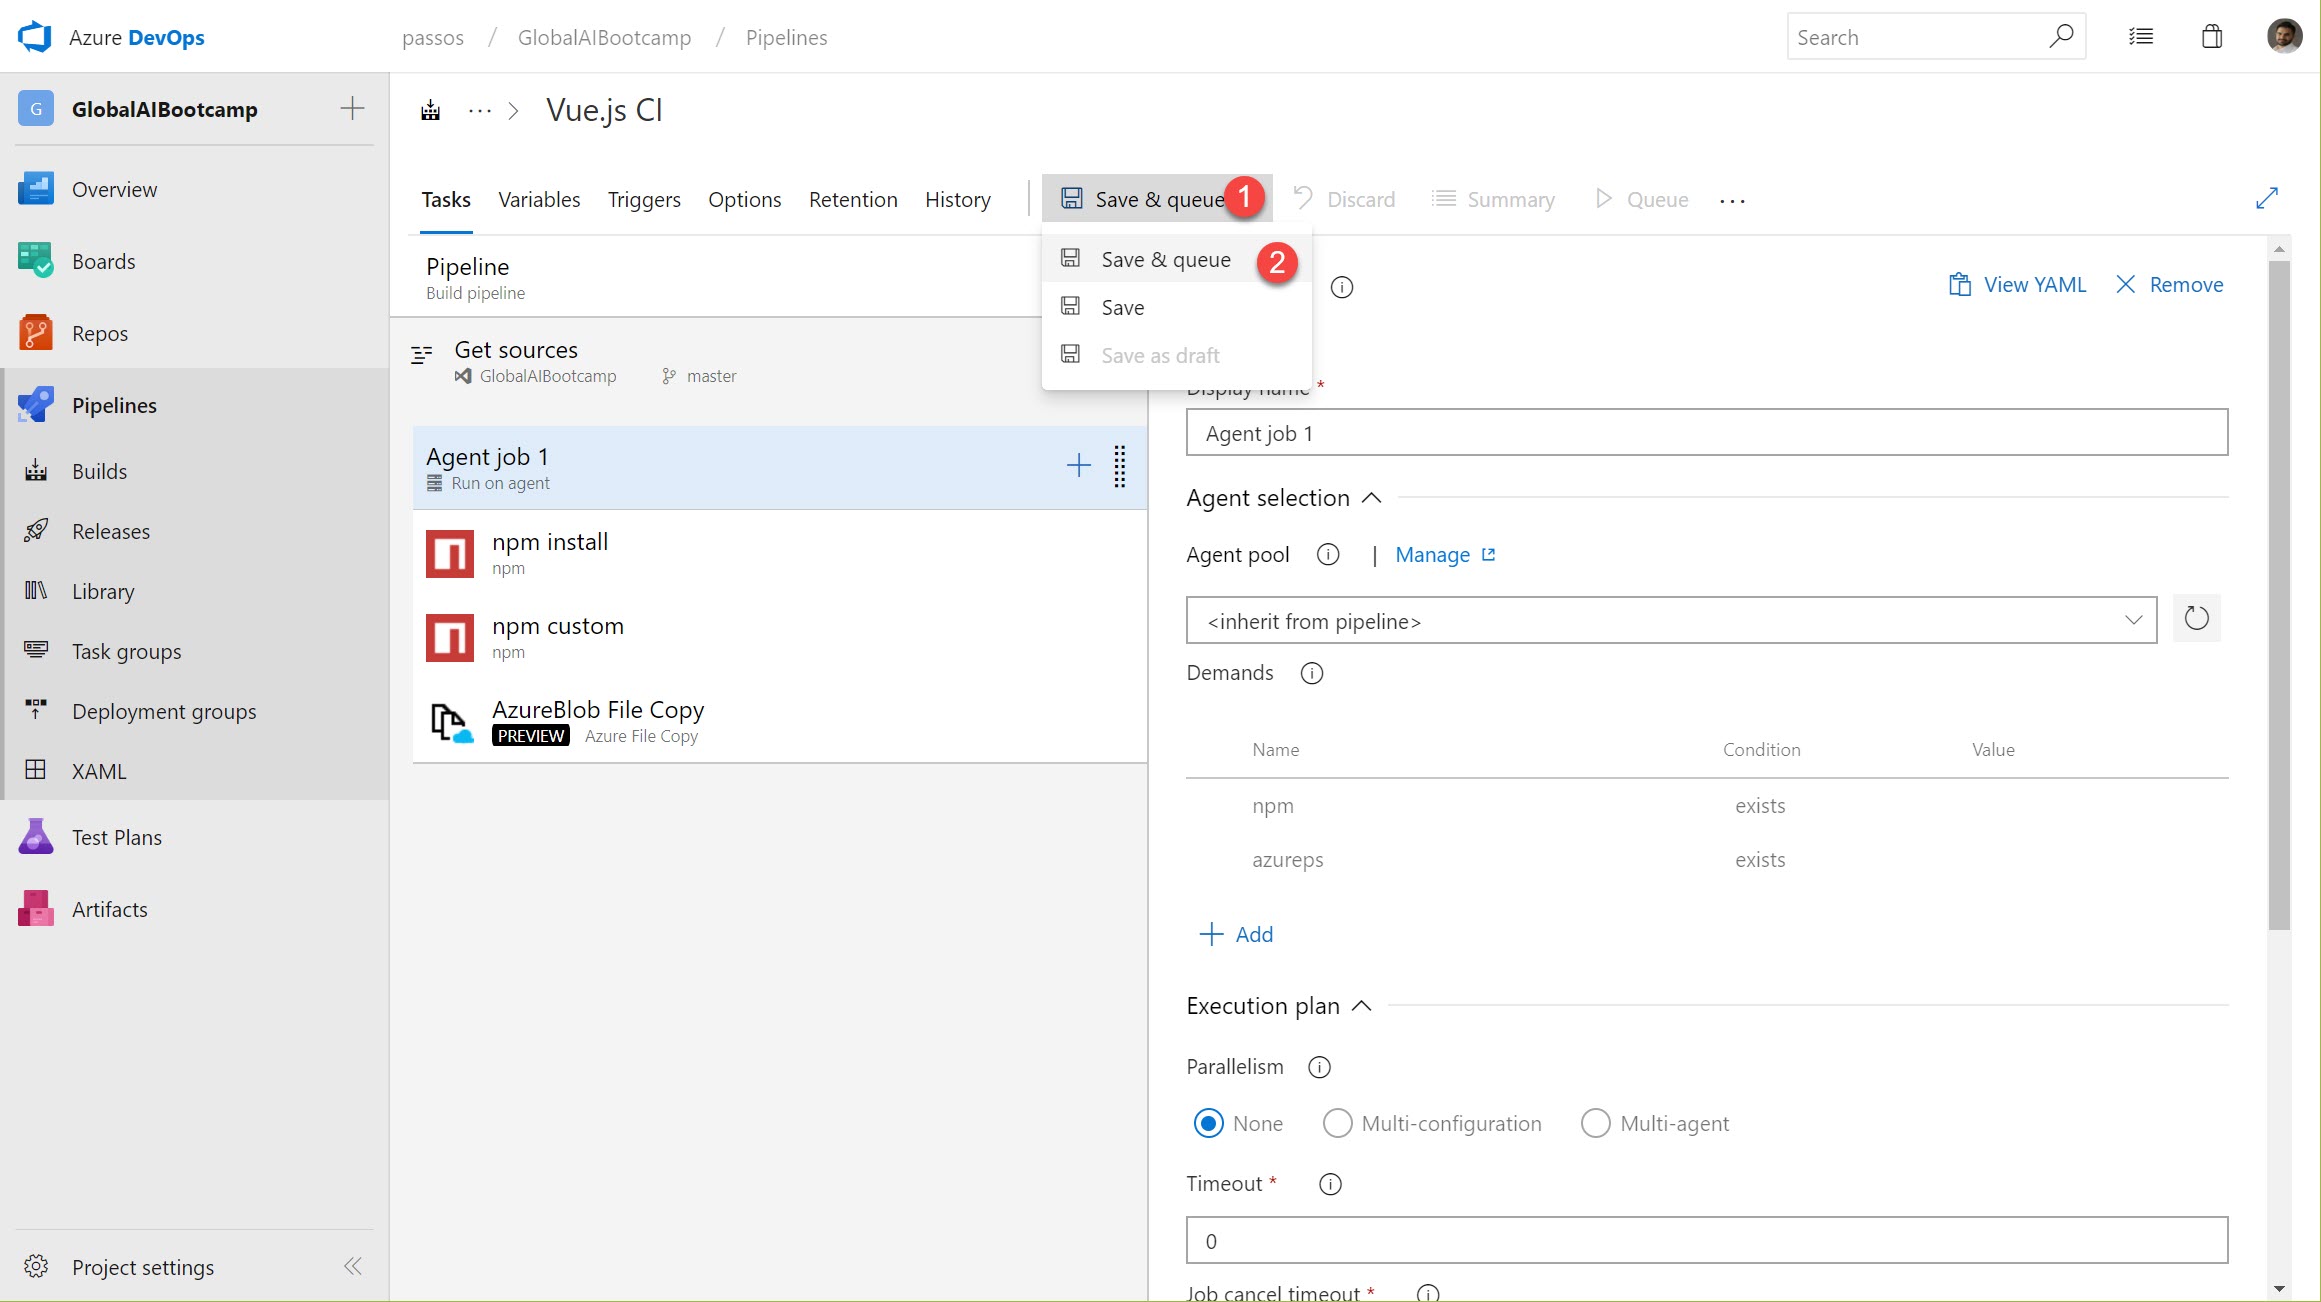
And voila! Your app is now being built and deployed automatically.
One thing to keep in mind here: if you're using YAML and a Windows machine as the build agent, you might encounter some issues if you have multiple commands in a single task. Check Ron's question on Stack Overflow for more information
Hope it helps!
Cheers