.NET Core SPA + Docker

Playing with Docker has been on my bucket list for while and I've finally put aside some time to get started. So this was the easiest way I've found to start a brand new SPA using .NET Core and dockerize it. I'm not going to do any introduction to Docker itself, if you want to know more about it, check this video or go to their website.
Pre-requisites
Creating SPA
Open the console (I use Cmder) and navigate to a folder you want to create your application. In the commands below, I create a folder in the current directory, but you don't need to if you've already created the folder
md DockerSpa
cd DockerSpa
dotnet new angular
dotnet restore
dotnet run
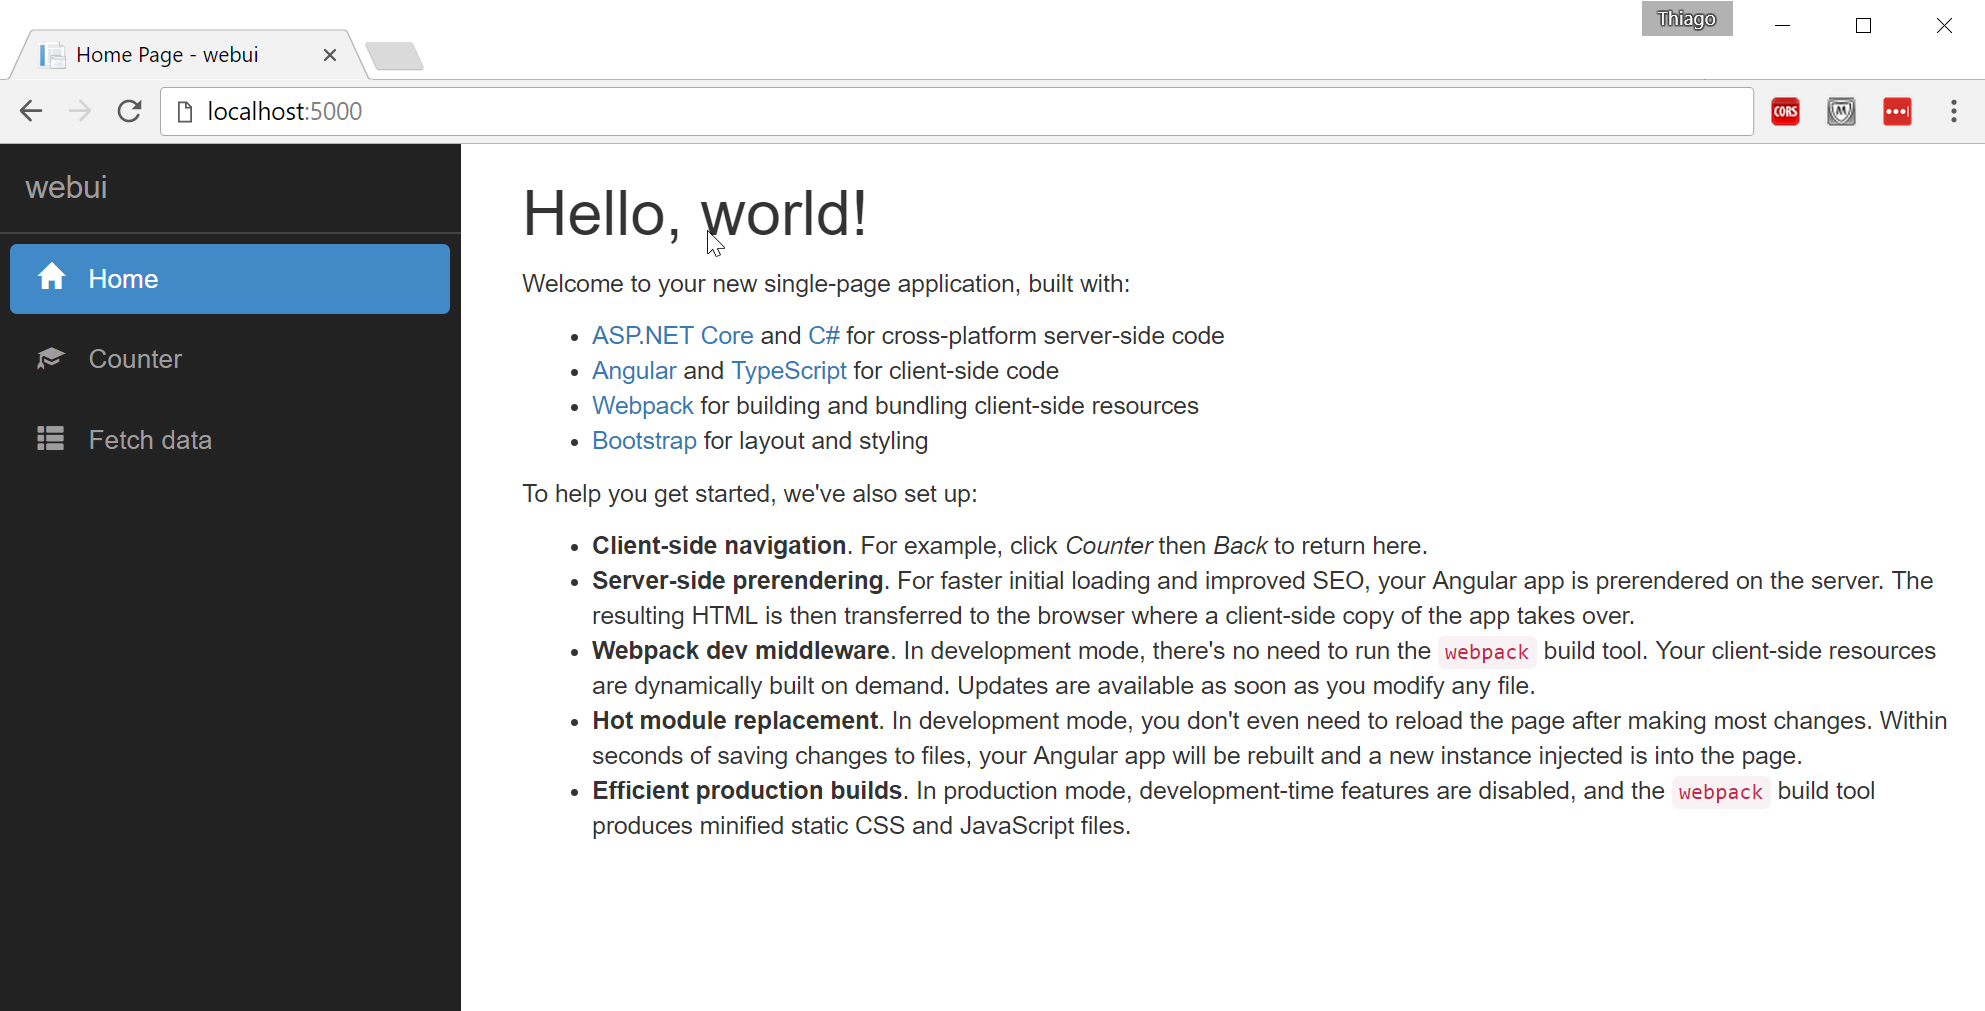
After you run all these commands, you should be able to open the browser, navigate to http://localhost:5000 to test it and you should see this:

Well done! You have your SPA up and running.
Installing DotNetCore base Docker Image
To install the base image for your .NET Core SPA, use the command below. You'll find elsewhere people telling you to use docker pull microsoft/dotnet instead, although you'll hit a roadblock when you find out that it doesn't have node.js pre configured.
docker pull microsoft/aspnetcore-build
Creating Docker Image
- Create a file named
docker-compose.build.ymland paste the content below:
version: '2'

services:
  ci-build:
    image: microsoft/aspnetcore-build
    container_name: build
    volumes:
      - .:/src
    working_dir: /
    command: /bin/bash -c "dotnet restore && dotnet publish -c Release -o ./build"
- Run the command below to prepare and build our code to be able to generate an image. This will download the latest aspnetcore-build image and build yours on top of it. Be prepared to download a couple of hundred MBs.
docker-compose -f .\docker-compose.build.yml run ci-build
- Create a file named
DockerFile(Yes! No extension!) and paste the content below. Here we're defining our image and which base image is being based on.
FROM microsoft/aspnetcore-build
ARG source
RUN echo "source: $source"
WORKDIR /app
COPY ${source:-/build} .
EXPOSE 80
ENTRYPOINT ["dotnet", "DockerSpa.dll"]
- Create a file name
docker-compose.ymland paste the content below. This is the "script" that will create our image and which image definition is going to use (DockerFile). Just make sure you don't have any conflict when setting up the ports which in this case is just mapping the external port 5005 to the internal port 80.
version: '2'

services:
  dockerspa:
    image: dockerspa
    container_name: dockerspa
    build:
      context: ./
      dockerfile: Dockerfile
      args:
        source: ./build
    ports:
      - "5005:80"
- Now use the command below to create the image
docker-compose -f .\docker-compose.yml -p dockerspa build
Creating a Container
A container is basically a running instance of an image. Let's run the command below and check if everything went well:
docker-compose -f .\docker-compose.yml -p dockerspa up -d
Testing it
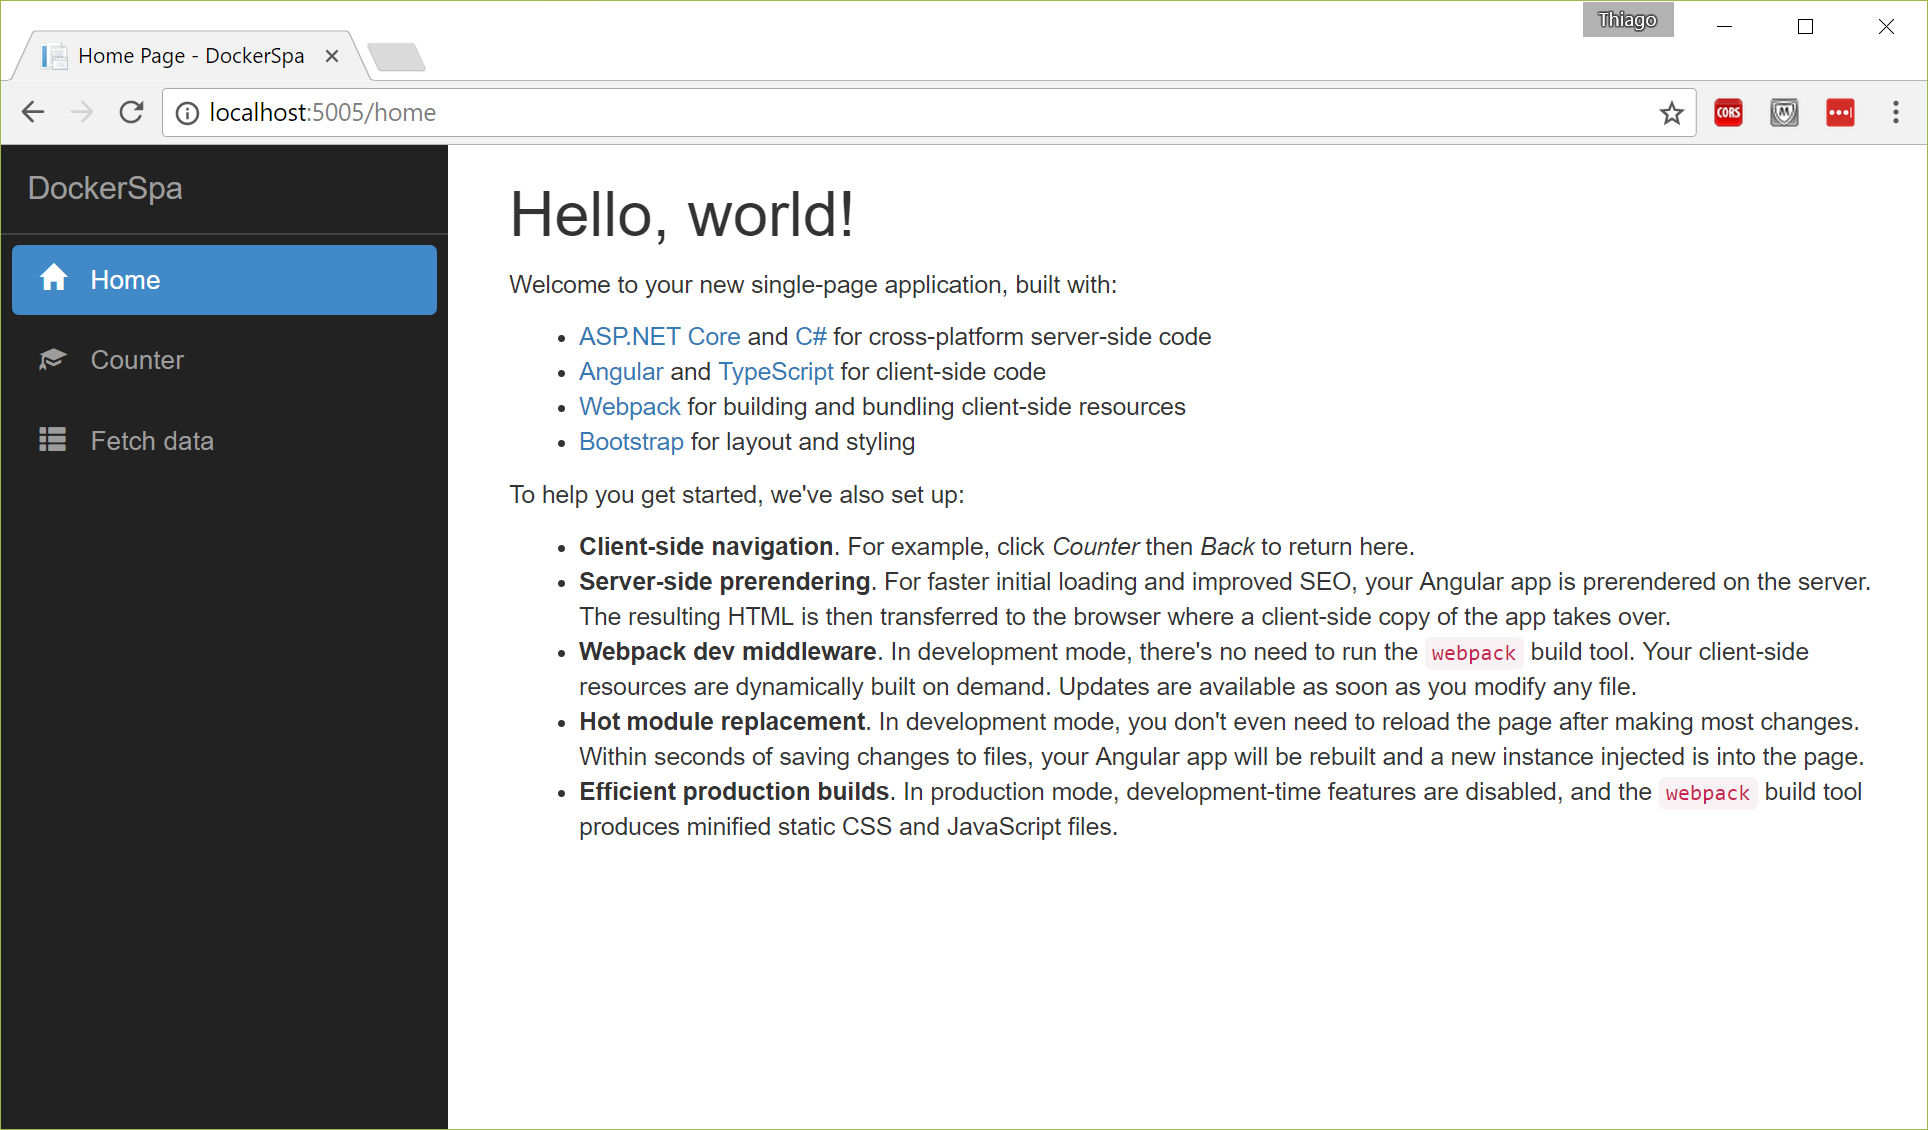
Now if everything went well, you should be able to navigate to http://localhost:5005 and see this:

Hope you liked it and you found it easy to follow.
Cheers.