Swagger All The Way Down - Part 1


This post is part of a series that will cover from the ground up how to configure Swagger in a .NET Core application, how to then generate a TypeScript client and hook up with an Angular application and also generate a C# client and hook up with another .NET Core application.
I'll be using the command line for most of the commands, but you can still do the same using Visual Studio.
The source code covered in this post is here
Configure Swagger
-
Create a new .NET Core app using the SPA template for Angular
dotnet new angularnpm install
-
Add dependencies NSwag.AspNetCore
dotnet add package NSwag.AspNetCore
-
Configure your application to use Swagger
- Open VS Code
code . - Go to startup.cs
- Add references
using NSwagusing NSwag.AspNetCore
- In ConfigureServices add
services.AddSwagger(); - In Configure add
app.UseSwaggerUi3WithApiExplorer(settings => { }); - Since we're using the SPA template, we have to update the routing a little so the
MapSpaFallbackRoutedoesn't stop us from going to /swagger
- Add references
- Open VS Code
app.UseMvc(routes =>
{
    routes.MapRoute(
        name: "default",
        template: "{controller=Home}/{action=Index}/{id?}");
    // Commenting these lines just so you know you have to remove from here
    // routes.MapSpaFallbackRoute(
    //     name: "spa-fallback",
    //     defaults: new { controller = "Home", action = "Index" });
});
app.MapWhen(x => !x.Request.Path.Value.StartsWith("/swagger"), builder =>
{
    builder.UseMvc(routes =>
    {
        routes.MapSpaFallbackRoute(
            name: "spa-fallback",
            defaults: new { controller = "Home", action = "Index" });
    });
});
- Run the application and go to /swagger
dotnet run- You'll also need to copy the URL for the swagger.json
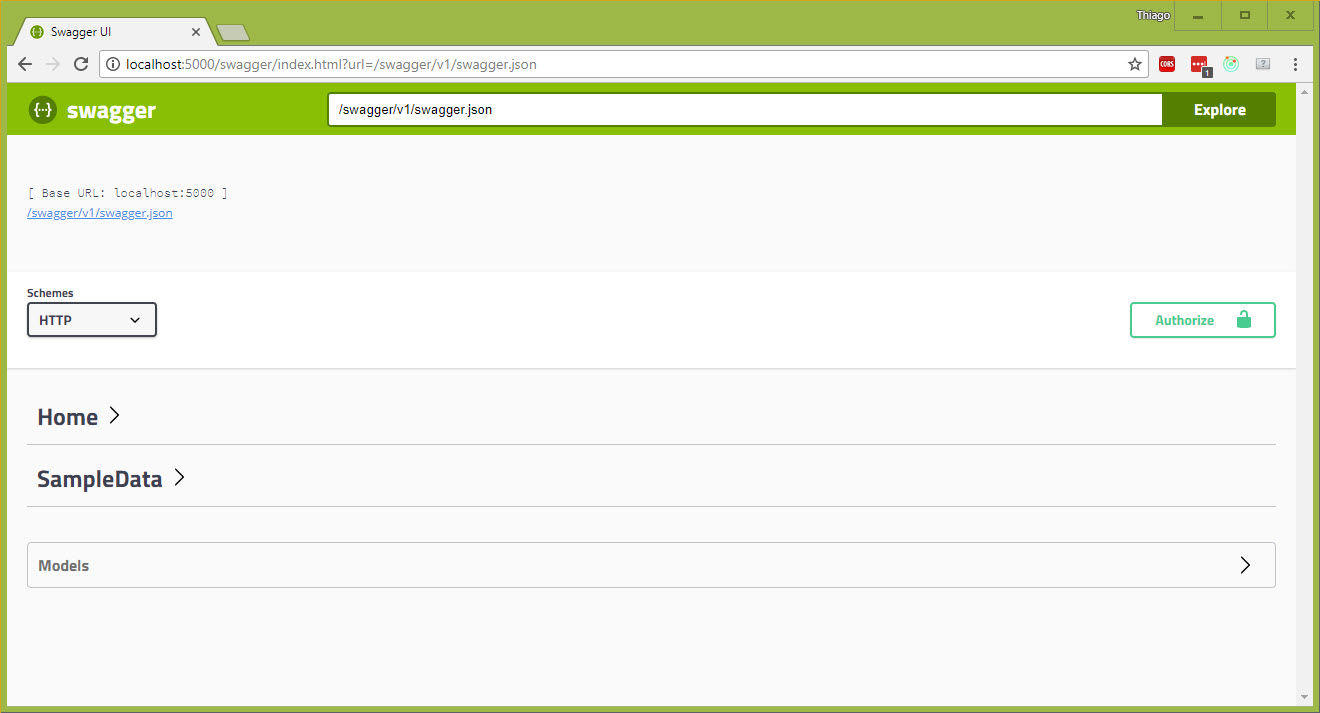
Swagger UI up and running
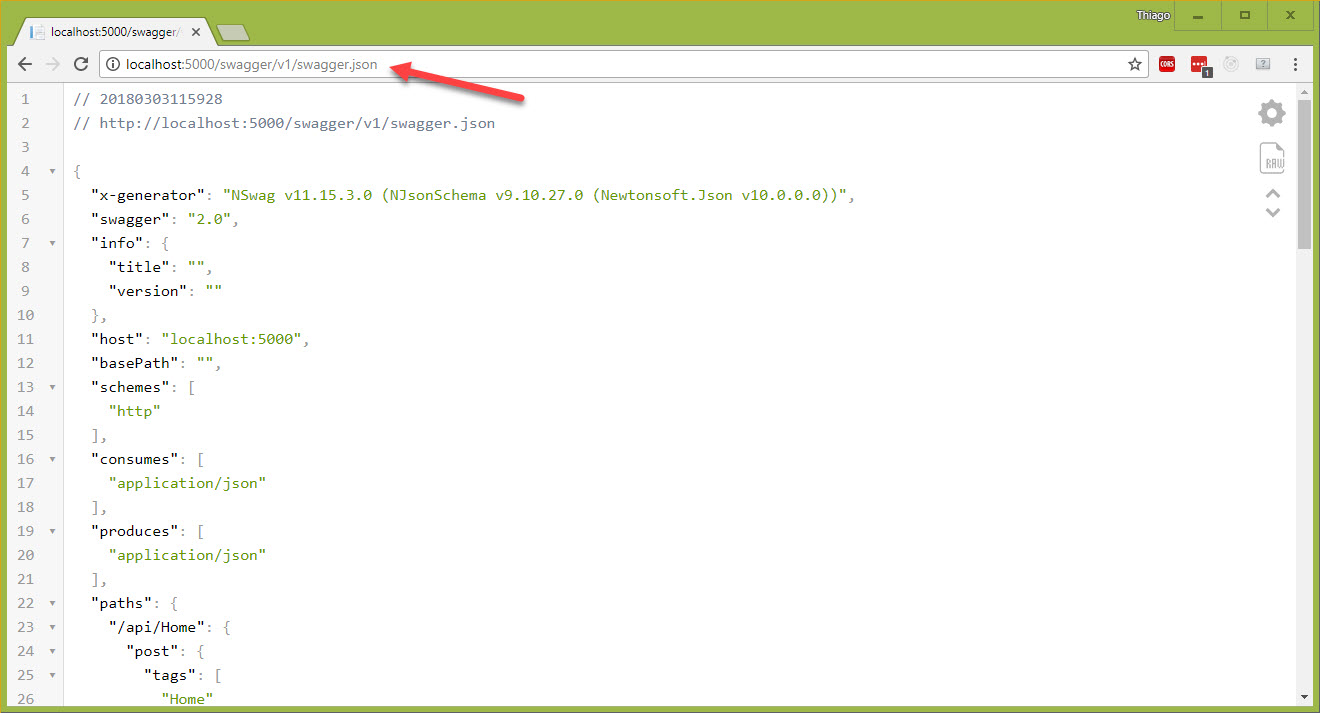
Copy the URL: http://localhost:5000/swagger/v1/swagger.json
Generate TypeScript
- Download NSwag Studio and run it.
- paste the URL you copied on the previous step
- check TypeScript client and go to settings
- change to TypeScript 2.0
- in the Template field, select Angular
- we use to call service what we use to talk to the server, so in this case we'll update the Class Name field to
{controller}Service - scroll all the way to find Output and drop it inside the Angular app, in my case is
ClientApp\app\core\services\api.client.generated.ts - at this point, you can now click on Generate Files
- also save your NSwag configuration to the root of your application as nswag.json.
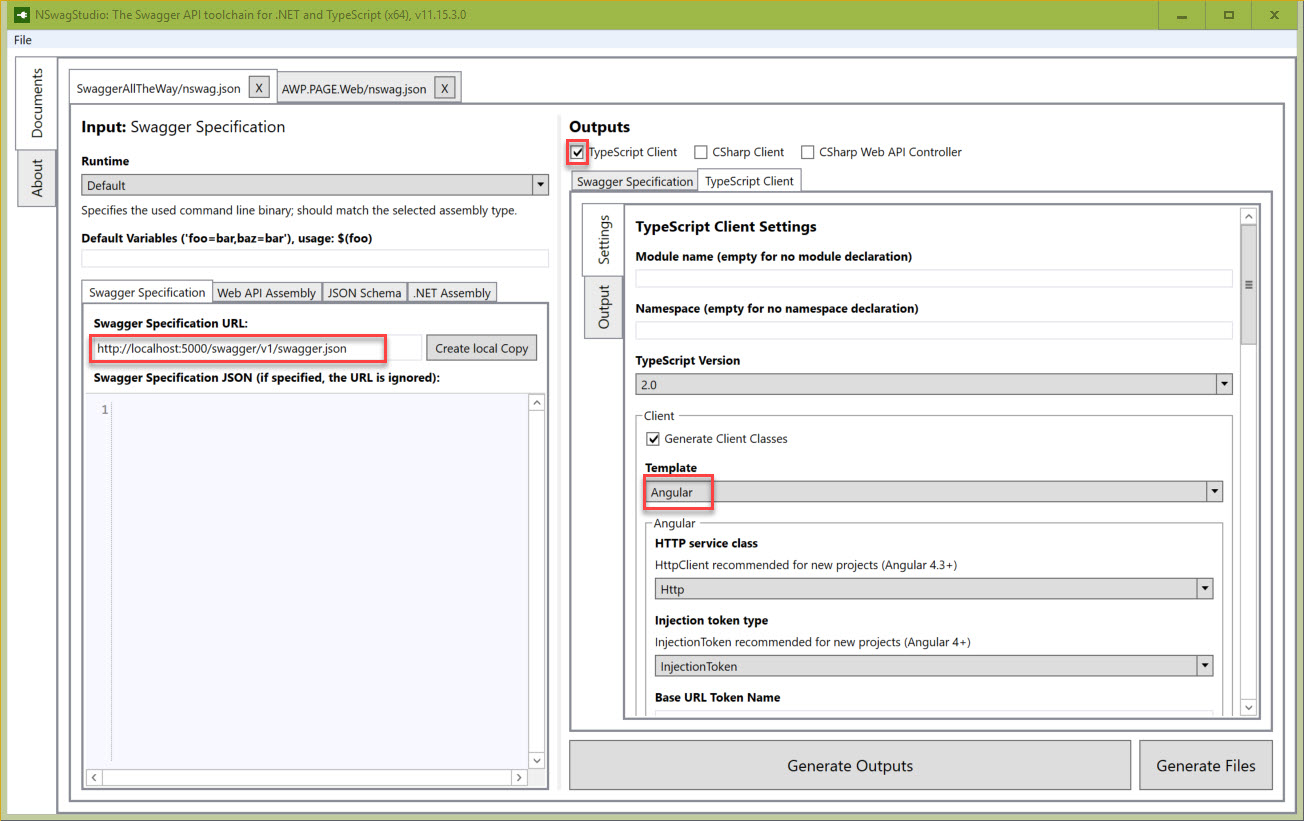
NSwag Studio running
Optional steps:
npm i -g nswag
Any further changes to your api, you can basically run in the directory you saved nswag.jsonnswag run
Use generated services in Angular
- Back to VS Code, go to app.shared.module.ts
- add this line to the top
import { SampleDataService } from './core/services/api.client.generated'; - include the service to your module
providers:[ SampleDataService ]
- add this line to the top
- in the fetchdata.component.ts
- we'll remove most of the code to now use the generated service
- include the line
import { SampleDataService, WeatherForecast } from '../../core/services/api.client.generated'; - remove the interface
WeatherForecastas we can now bring it from the generated code
import { Component, Inject } from '@angular/core';
import { Http } from '@angular/http';
import { SampleDataService, WeatherForecast } from '../../core/services/api.client.generated';

@Component({
    selector: 'fetchdata',
    templateUrl: './fetchdata.component.html'
})
export class FetchDataComponent {
    public forecasts: WeatherForecast[] | null = [];

    constructor(sampleDataService: SampleDataService) {
        sampleDataService.weatherForecasts().subscribe(fc => {
            this.forecasts = fc;
        });
    }
}
At this point you now have a much better experience as you don't need to create all the Angular services to talk to the API. If you don't need a C# client to talk to your API, you can probably stop here.
Hope it helps...
Keep going on Part 2 and generate a C# Client.
Cheers